Wednesday, June 16, 2010

Waste Not, Want Not

How cool is it that you can take rotting fruit and turn it into something so completely delectable?

I mean really, really delectable...

Thank you, brown bananas.  Feel free to visit again anytime.

Monday, June 14, 2010

A Quest for Bread..

No one made better bread than Mary Pack. We tried, and now that we can't talk to her, none of us seems to be able to remember or master her process. She even baked for the Inn in McKenzie Bridge before it burned down........120 little loaves, three days a week. Sigh. When we were kids on the farm in Junction City, nothing brought us across the mint fields faster than the cry, "Bread's done!" Slices three inches thick with butter from Violet's milk. That Violet. She was some cow.

I make pretty good French Bread. My sister Penny and I practiced that when our kids were little. They loved to knead and punch the dough. Lately I have wondered about all of the different breads we eat from all over the world. They all have the same stuff, but they come out so very different. So I'm on a quest to find some different breads to bake.

I have a book.... that's what we did before there was Google. The book is called "100 Great Breads" by Paul Hollywood. If there are any out there he hasn't tried, they can't amount to much.

Flat bread is a favorite, so I thought I would try that first. I want to work my way up to flour tortillas and a dark rye, but I'll start simple. The idea here is to, one day soon, grow my own wheat, oats, and rye, learn to thresh them, and make great artisan bread in the brick oven I posted about last month...... that's where I'm headed. I should just build the oven and call it good, but that doesn't seem to have a point.


4 cups of white flour
1 tablespoon salt
1/4 cup sugar
1/4 cup olive oil
1 oz yeast
1 1/4 (plus)cups water

Mix it and knead to a stiff dough.
Cover and let rest for 1 hour.
Preheat oven to 475 degrees F
Spray the baking sheet and put it in the oven to heat.
Make small 3 oz balls of dough.
Let rest for five minutes.
Roll into a circle about 1 cm thick ( I think mine was too thin)
Place on hot baking sheet and bake for five minutes.
They will puff, so make sure your racks are adjusted accordingly.


Someone told me that Pita bread was a poor man's lunch box. I LOVE all the different things you can stuff in Pita. It was really not very difficult, and a lot faster than a raised loaf. It took about thirty minutes spread out over an hour and a half. You let the dough rest for an hour.


I need to refine how I roll it out.


They bake better on a cookie sheet than a baking tile. The tile made the bottom side too hard.


They puffed up really well, but only had a thin pocket on one side. I need them to puff with a pocket in the middle. I think I made them too flat. They will deflate as they cool.


They don't keep well, unless you wrap them up. I left a piece of one on the counter overnight to see what would happen, and it was rock hard by morning, but we had six sandwiches stuffed with our ground pork, onions, celery, and cabbage relish.

Now I think I will try Koulouri-Cypriot Village Bread... or Olive and Sun Dried Tomato.... or Chocolate and Sour Cherry.........for real.

It's a great book.

Saturday, June 12, 2010

Babies!

Baby chickens, that is...

Some of our hens have gone broody. We left them alone, trusting that their instincts and natural acumen would take over, and believed we'd have chicks in no time.

No dice.

Chickens are not the brightest bulbs in any pack. Other hens were still laying in the nests of brooding hens, who were either getting up to powder their beaks or were getting shoved off the prime coop real estate. So the eggs piled up on nests that we were leaving alone, older eggs at the bottom. These eggs started to die or would hatch and these brilliant creatures would kill the new young. And, let me tell you, the coop smelled just lovely. Eau de rot.

We decided we needed to isolate the brooding hens and have done so, but had about two dozen eggs left over that no one would claim. So, Stay and I did what we do best: research.

We built incubators out of styrofoam coolers and low watt bulbs.


I started monitoring temperature and turning and adjusting and one afternoon, just a day or so after we put them in, when I peeked in to check the temperature (yet again because I was using the wrong bulb at first and couldn't get the temp right, it was too hot or too cold) I heard a distinct peep.

Who knew chicks started peeping in the egg?


Sure enough, one of the eggs had a "pip" or crack and a baby trying to emerge. But here in Utah, humidity, essential to proper chick hatching, is hard to come by and the humidity in the incubator was too low, making it difficult for the chick to turn around in the egg...got all gummed up and stuck to the inner membrane. Hours had passed and the chick had made no progress. So again, I turned to Google.

Turns out you can help a chick hatch if you do it carefully. Again, who knew? I did it carefully, puncturing the shell a little at a time around the circumference of the egg. And look who decided to join us!


Sleepy little fella, tell you what. It was a rough day.


Finally, he pushed out of the shell completely and laid there for a long time under the warm light. It takes a lot out of a body, being born, you know.

World, meet Piper.


So far, he's the only one to hatch. I have no idea if the other eggs are viable, but I will keep turning and adjusting for another week or so, candling to see if there is progress, chucking out the bad ones and hoping none explode.

Last one out's a rotten egg!

Thursday, June 10, 2010

Lasagna Loves Breader Beginnings...


Sooooo... I really like to cook. Strictly because I really like food. I like the way it looks, the way it tastes, it's innate ability to bring people together, etc. I think experiencing "real food" is in Heavenly Father's plan for His children. Unfortunately, "real food" is becoming as scarce as words like "duty" and "honor" in our society. (Yes, Mom, I said duty. Laugh it up.) Real food is just one of the perks associate with having land or even having highly domesticated, traditional ideals. And I truly believe it's towards the top of the list. Real food makes us feel better, think better, love better, serve better... you get the idea.

So, here's to Breader Beginnings and Lasagna...

The following recipes are not original. When it comes to things of the kitchen, I actually have a hard time coming up with anything original. Come to think of it, I have a hard time coming up with anything original in almost every aspect of my life, which is probably why I am an avid reader, and usually of self-help and information related books. I can give you a beautifully formal letter, but I'll do that by finding a template and twisting it. I can whip up quite a dish in the kitchen, but it will derive from someone's else's recipe and I'll screw with it. Very piratey of me, arrr??

Laura's Lasagna
( A lasagna you can be proud to feed your Italian friends)

1 lb ground beef or pork (We use our own pork for this recipe.)

1 lb ground sausage (Again, our own.)

A couple teaspoons pickling salt (Iodized is fine, too.)

1 teaspoon ground pepper

A couple of onions

1 quart jar tomato/spaghetti sauce (I don't really know what to call this... any tomato based product would be fine - I just use the sauce we make each year with our tomatoes - it has oregano and onion and a couple other mystery things in it.)
Garlic (I really like to use minced garlic that you buy in the grocery store if I don't have fresh on hand. The stuff is p-o-t-e-n-t!)

1 teaspoon sugar (I actually don't put this in mine just because our original sauce has a sweet flavor since it's fresh, but the recipe I base my recipe off of calls for it.)
1/2 teaspoon dried oregano

1 Tablespoon butter

2 Tablespoons basil

8 ounces Ricotta cheese

8 ounces Cream cheese (at room temperature)

1 cup grated or shredded Parmesan cheese

1/2 cup Romano cheese

1 box lasagna noodles

2 cups shredded Mozzarella cheese


Preheat the oven to 375 degrees F. Lightly spray a 9x13 baking dish with cooking spray.

Cook your lasagna noodles as directed in the package. Set aside.


Combine the ground beef (or pork), and sausage in a large saute' pan over medium-high heat. Season the meat with salt and pepper. Cook until lightly browned, about 8-10 minutes. Drain the fat off the meat and set aside.


Heat olive oil in a medium saucepan (I just use the one I cooked the meat in) over medium heat. Add the onion (chopped), garlic (about three cloves or 1 Tablespoon minced garlic), 1/2 teaspoon salt, and a dash of pepper. Cook, stirring frequently, until the onion is soft and translucent, 5 to 7 minutes. Add the tomato/spaghetti sauce, sugar, and oregano and simmer for 10 to 15 minutes. Stir in the butter and the basil. Taste and adjust seasonings.

(they call is "Gussied Up Marinara Sauce") will keep in the refrigerator for a week, and they say the flavor improves over time. Never done it, but the theory is sound.>
Combine the "Gussied Up Marinara Sauce" and the meat. Set aside.


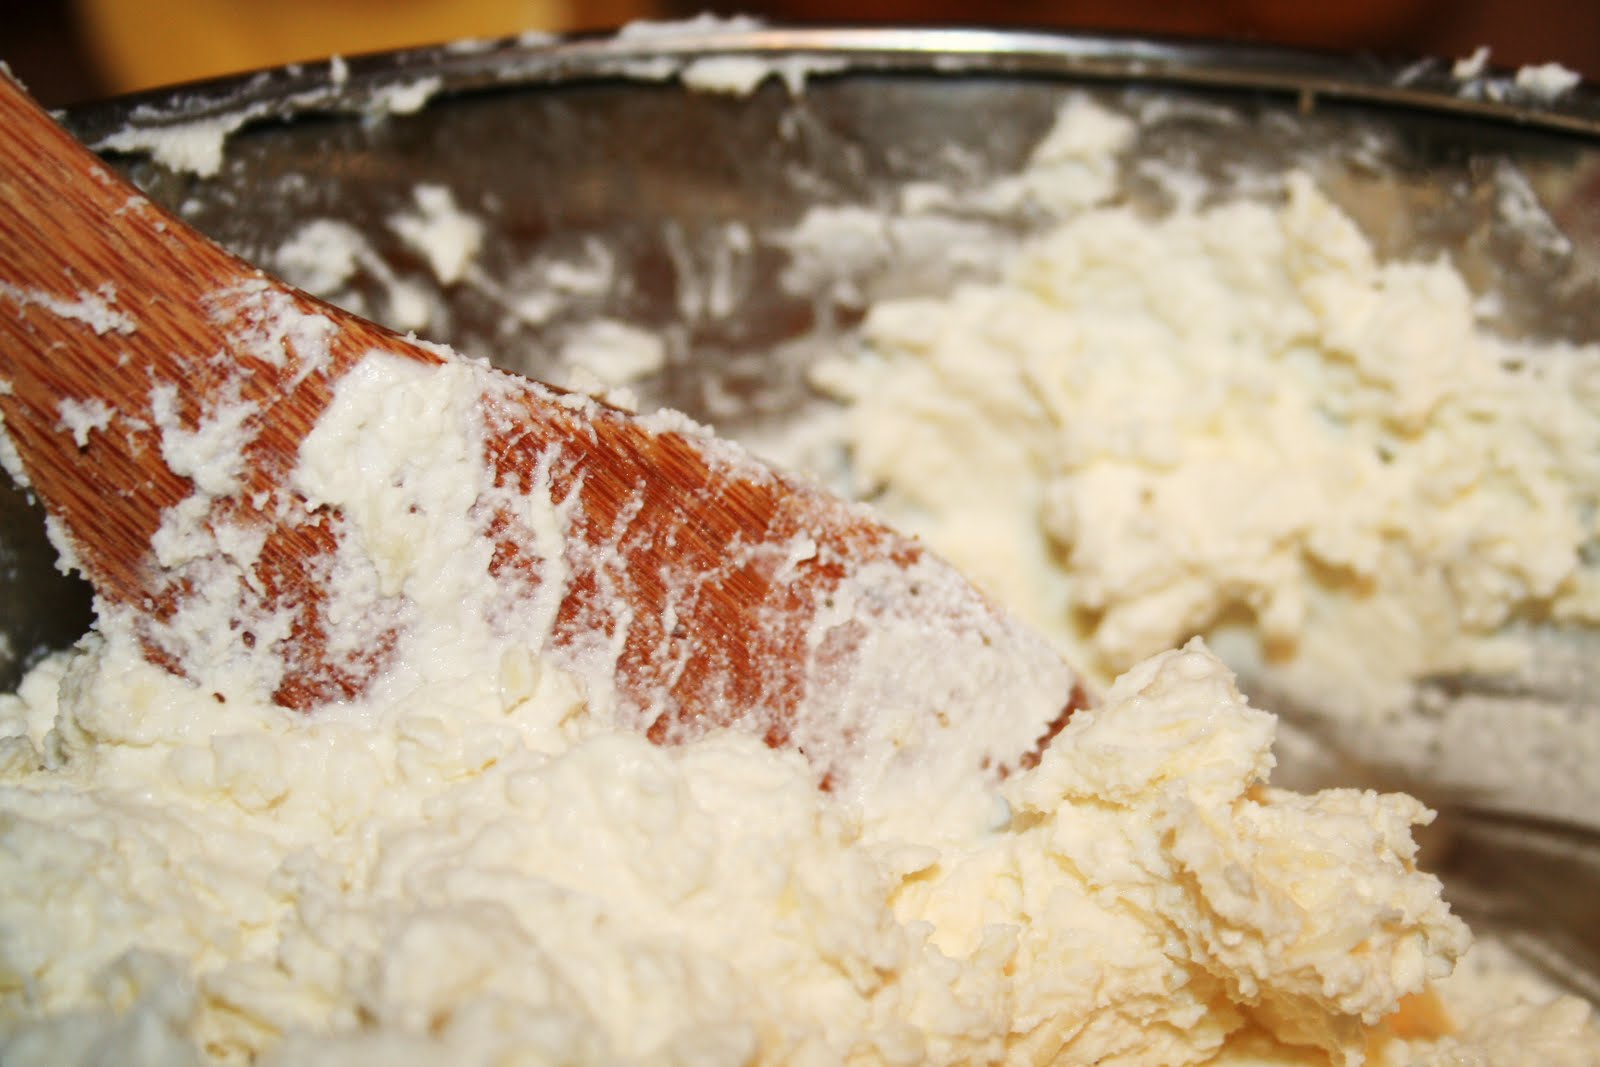
Mix the ricotta, cream cheese, and parmesan in a medium bowl. Season with the remaining pepper. Set aside.


Cover the bottom of the prepared dish with 1 cup of the meat sauce. Arrange a single layer of noodles on top of the sauce. Spread 1 1/2 cups of the meat sauce evenly on top. Add half of the cheese mixture by spoonfuls evenly over the meat sauce (I get my hands a little dirty doing this because the only way to do it right, of course, is with your fingers), then sprinkle with basil. Top with a layer of lasagna noodles, 1 1/2 cups of the sauce, the remaining cheese mixture, and sprinkle again with basil. Top with the with a layer of noodles, 1 1/2 cups of the meat sauce, and the final layer of noodles. Spread the remaining meat sauce over the top, and sprinkle with mozzarella and romano.


Cover with aluminum foil and bake for 30 minutes. Uncover and bake until the cheese is bubbly and golden brown, 10 to 15 minutes more. Let stand for 15 minutes before serving.

Voila!


Now, here are my less-than redeeming cheats...

1) I put the lasagna on to boil, the brown the meat, I mix the cheeses - all at once. It's faster that way. Sheesh! What do I have - all day? Then I make the marinara sauce, add it to the meat, and start layering.

2) I taste every step. More of the cheese than anything. I can't HELP myself.

3) I actually make the bread first so it has a chance to rise. THEN I start on the lasagna - when it's done I use two ovens (Yes TWO OVENS... there are perks to living next door to your mother - this is just ONE, of course!) to bake them both at the same time. I guess if I had to choose one to get cold it would be the bread, but that is just such a crime!!

Now for breader beginnings...

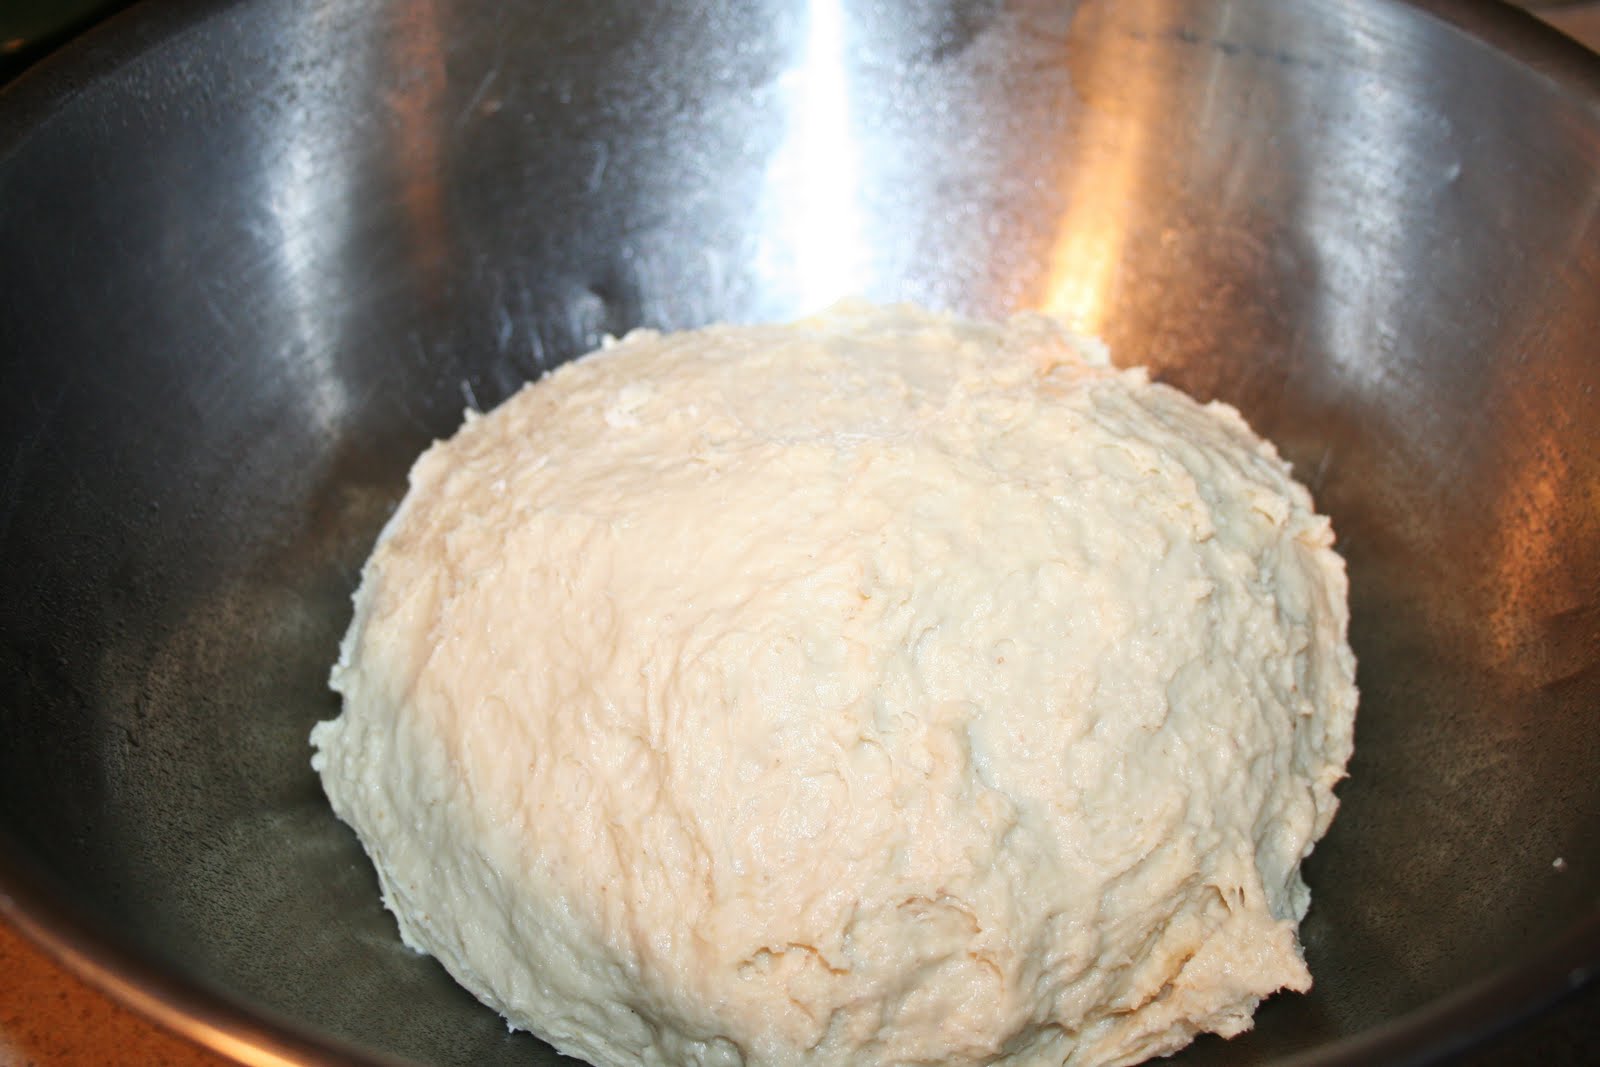
Last night's bread was an experiment. I mentioned on Facebook that my bread was very sticky. I chalked it up to the higher-than-average humidity... however, I have a confession to make. I think the humidity had something to do with it, but I also added about 2 1/1 cups of cream of wheat (leftover from that morning's breakfast) and I am one of the few who have never added anything to my bread. I've been scared. Yes, scared. So, yesterday I experimented, and wound up with sticky, high-rising bread that was healthier than normal, and still delicious even though it stuck to the bread pans BECAUSE it was so sticky. I'll have to play with that.

Anyways, I got this recipe from a woman in Salem at a Stake Super Saturday - thank you sister!

Again, I messed up on the recipe and wound up stumbling across something beautiful! A bread that is light and fluffy, but stick-to-your-ribs flavorful and no fuss. No kneading, really no rising until the oven... just low-maintenance bread. Which is my kinda bread.

White "No-Fuss" Bread
Flour mixture:
2 cups flower (total 5-6)
1/4 cup sugar 1 Tablespoon baking powder 1 Tablespoon salt 2 Tablespoons yeast

Liquid Mixture:
Heat until very warm: 2 1/4 cup milk 1/4 cup oil

Add later:
1 egg Add liquid to flour mixture. Mix with a whisk for 3 minutes. (I mix my breads by hand as I do not have a mixer - if you want to use one just mix for 1 minute low and 3 minutes medium speed.) Add one egg. Stir in 3-4 cups flour.


Oil a large bowl (I use one of my stainless steel mixing bowls - you know the kind they don't make anymore. Ugh.) Put your dough ball into the bowl with a little oil on it so it doesn't dry out. Cover and let rise 40 minutes. Form into loaves, "slap down" and let rise 20 minutes. Bake 350 degrees for 20-30 minutes.

While baking, I brush the bread liberally with melted butter. It keeps the crust soft and give the outside a delicious flavor. Now I'm hungry.


Well, there you go. Now go cook!!


How to Render Lard in Your Kitchen | eHow.com

How to Render Lard in Your Kitchen | eHow.com

Rendering Lard

I couldn't say it better.....

Rendering Lard

Be sure to take a look at the video at the "Not without Salt" blog.

Sunday, June 6, 2010

A pinch of this and a dash of that

I have several things I wanted to post about and couldn't decide if I should combine them or give them their own space. Being the practical human being that I am, and not wanted to break Laura's self imposed "no two posts in a row" rule, I decided to just combine them.

Try to keep up.

First of all, I attempted Mozzarella. It wasn't such a smashing success. The main problem, I believe is that I didn't use a cheese thermometer. I thought I would just try to wing it before I invested in one. Second, the milk was a little off (something the cow got into, no doubt. Silly cow) so the flavor was less than desirable. Let me see if I can help you imagine: you know that smell when you pass by a dairy? That is how this milk tasted. So, texture: hard and non melty, taste: dairy in the sun. I put this stuff on my pizza, determined not to waste it. It wasn't inedible, but you should know, I went out and bought a thermometer the next day. I'll try it again. Here are some pictures from the experiment, I'll post on the process when I actually do it right.

I also don't have a double boiler...but we make do. I had to pasteurize the milk. Mozzarella has to be made from pasteurized milk, and I was starting with raw. Look at me go.


There was a lot that happened between the picture above of the milk cooling and the cheese below...but it happens fast and photo-documenting it was not something I could do all alone. Next time I'll enlist the help of Jon or neighbor Stay.

It doesn't look so bad, does it? Well, looks can be deceiving.

School has been out a week. I've done a lot in that time. I'm all about effective time management. That includes time scheduled to play Mariokart of course.

Lest you think all I do is play video games though, look what I did:

I canned the sauerkraut Jon and I put up two months ago. It was so easy. The local grocery was having a sale on cabbage back in February. We sliced it up in the food processor...about three lbs. We layered it with kosher salt in an enamel crock and then put a weight on top. After eight weeks in our basement, it had turned white and fermented beautifully. It tastes much more like what I had in Germany and isn't bitter like some of the stuff that comes in cans here in the states.

This is the perennial garden. Rhubarb, strawberries, asparagus, and the basic Italian herbs...I use a lot of Italian seasoning.

I started seedlings in February in my basement under a grow light. As soon as the snow was off of the garden and it had dried enough for Jon to till, we transplanted the cold weather crops, lettuce, spinach, cabbage and peas into the garden. I had some seed left over, so I broadcasted some to stagger the harvest. As you can see though, there isn't any discernible difference between the transplants and the seeds. Ah well. Next year I'll just plant seeds...probably in straw bales (see earlier Mom and Laura post). The soil has a lot of clay, but look what else I did so that next year it will have a better consistency:
Tomorrow I will fill up the far left area (there are three) with clippings, hay from the chicken coop, and steer manure. Next year I will have some good compost to till into the garden.

Saturday, we got a Bountiful Basket. Go to http://www4.bountifulbaskets.org/ to see more about them. It is a food co-op that delivers about $25 worth of food for $15. It is beautiful produce and a lot of it, but some stuff that I wouldn't normally buy. A $4 carton of blackberries for one. 10 bok choy, for another. What in the world do I do with 10 bok choy? What do I do with one bok choy for that matter?! I'll keep you posted.

But I digress...

They sent me four red peppers. So I stuffed them.


Oh man, I am not a stuffed pepper fan...or I wasn't, until tonight. Y.U.M.

Here is the recipe as it appears on http://southernfood.about.com/od/stuffedpepperrecipes/r/bl30220q.htm.

I added black beans, green chilies, green onions, and raw corn, cut from the cob to the tomato mixture right before I mixed it in with the meat mixture. I added a lot more of the tomato mixture to the meat too. Last, I mixed in some mozzarella (not the stuff I made, remember I ate that on my pizza. I said try to keep up), Tillamook sharp cheddar, and Parmesan to the mix before I stuffed the peppers. I then topped them with the remainder of the tomato mix and a mix of the aforementioned three cheeses. I baked them for about 45 minutes as opposed to the 55-65 on the recipe. These are to die for. There was enough to stuff eight peppers though, so guess what we are having for dinner tomorrow night!

Ok, last but not least, how cute is this kid?

This is my nephew, Wesley. We got to go to St George to visit Jon's sister's family and this kid stole my heart. Seems that Jon stole his though...

He latched onto his uncle Jonjon, following him around, sitting right next to him wanting to eat what Jon was eating...which, if you know Jon, was pretty funny. They bonded.

I'm tired now. Here's to more of the same all summer long!